RubyのCairoで円周率の壁紙を作った
どしたの
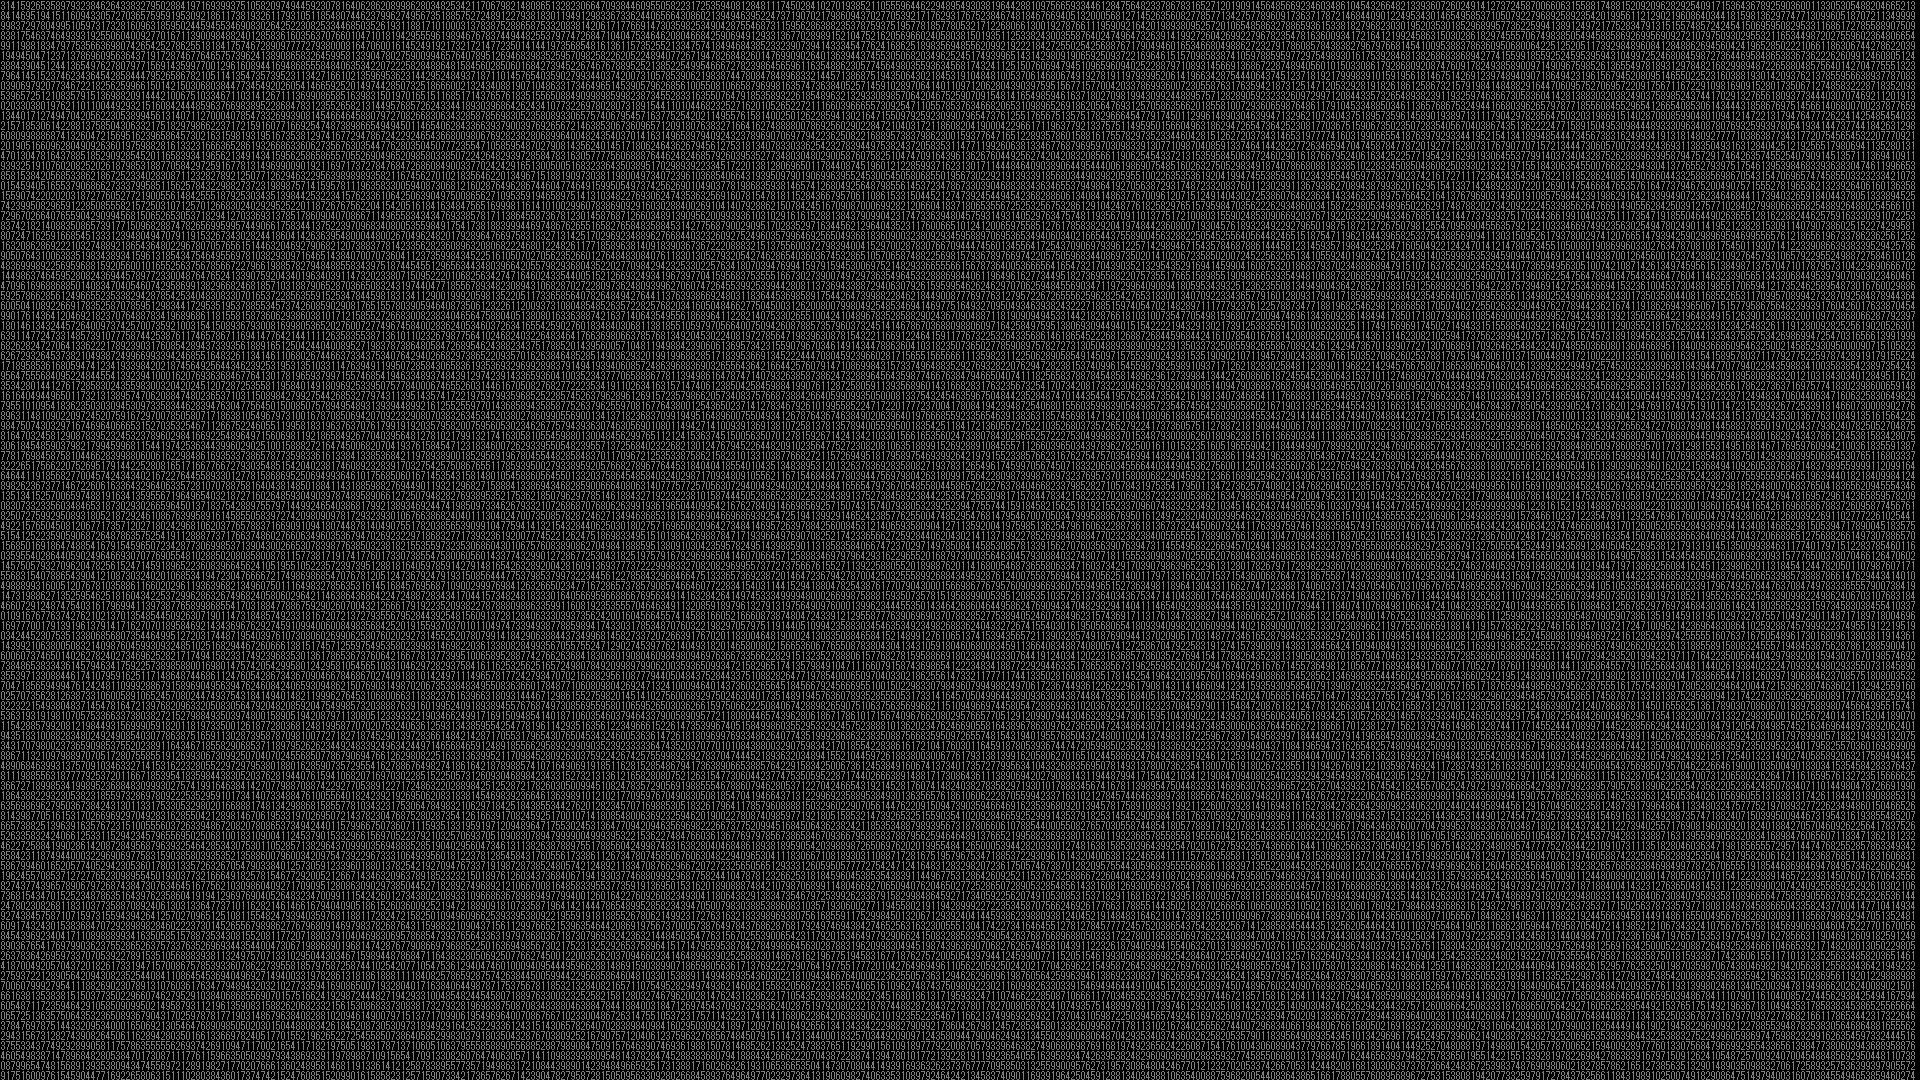
こういうのを作りました.
https://raw.github.com/tubo028/pi_wallpaper/origin/pi_bl.png

ただ円周率を10進数で一の位のから41364桁列挙した壁紙です.
githubに上げてあります.
https://github.com/tubo028/pi_wallpaper
僕はWindowsで実行しましたが,フォント以外はMacでもLinuxでもあまり変わらないと思います.
別にπじゃなくてもネイピア数や般若心経でもほぼ一緒です.
Cairoで描いた(書いた)
Cairoとは,Wikipedia先生によると
デバイスに依存しないベクトルベースの描画APIを提供する、フリーの2Dグラフィックスライブラリである。アンチエイリアスがかかった綺麗な表示が特徴である。
上にリンクを貼った画像はビットマップフォントを使っているのでアンチエイリアスの恩恵は受けていませんが,滑らかなのを作りたいときは有難いでしょう.
APIの解説はここが詳しいです.
cairo: 2 次元画像描画ライブラリ - http://magazine.rubyist.net/?0019-cairo
どうやって描いた
まずは元となる円周率をpi.txtに保存します.
こちらのページなどからコピペしてください.
円周率百万桁 - http://www.geocities.jp/f9305710/PAI1000000.html
余分な文字があっても実行時に数字以外は読み飛ばすので大丈夫です.
必要な桁数は,FullHDで41364桁くらいで済むので50000もあれば十分です.
出力された円周率をcairoで描画します.
require 'rubygems'
require 'cairo'

# constants
# Full HD 1920x1080
# E130 1366x768
# Facebook header 851x315
# Twitter header 520x260
Surface_Width    = 256
Surface_Height   = 256

Font_Size        = 9
Font_Name        = "Meiryo"
Font_Width       = 5
Font_Height      = 8

Input_File_Name  = "pi.txt"
Output_File_Name = "pi.png"

# canvas
format = Cairo::FORMAT_ARGB32
surface = Cairo::ImageSurface.new(format, Surface_Width, Surface_Height)
context = Cairo::Context.new(surface)

# background
pattern2 = Cairo::LinearPattern.new(Surface_Width*0.0, Surface_Height*0.4,
                                    Surface_Width*0.0, Surface_Height*1.0)
#pattern2.add_color_stop(0.0, :BLACK)
#pattern2.add_color_stop(1.0, :BLACK)
 pattern2.add_color_stop(0.0, :AQUA)
 pattern2.add_color_stop(1.0, :COBALT)
context.set_source(pattern2)
context.rectangle(0, 0, Surface_Width, Surface_Height)
context.fill

# font
context.set_source_rgb(0, 0, 0)
context.select_font_face(Font_Name)
context.set_font_size(Font_Size)

# font color
pattern = Cairo::LinearPattern.new(Surface_Width*0.0, Surface_Height*0.0,
                                   Surface_Width*0.0, Surface_Height*1.0)
#pattern.add_color_stop(0.0, :GRAY)
#pattern.add_color_stop(1.0, :GRAY)
 pattern.add_color_stop(0.0, :GRAY)
 pattern.add_color_stop(1.0, :BLACK)
context.set_source(pattern)

# open file
file = open(Input_File_Name)

print "Drowing" + Input_File_Name + "..."

# draw
offset_x = 0
offset_y = 0
y = offset_y + Font_Height
while y - Font_Height < Surface_Height
  x = offset_x
  while x + Font_Width < Surface_Width
    while !((c = file.getc) =~ /[0-9.]/)
    end
    # puts x.to_s + "," + y.to_s
    context.move_to(x,y)
    context.show_text(c)
    #print c
    x += Font_Width
    # STDIN.gets
  end
  y += Font_Height
end

# output
surface.write_to_png(Output_File_Name)

puts "\ndone!"
Cairoを叩くためだけにこのとき初めてRubyを勉強したのでCのようなコードになってますが,とりあえう動きます.
gem install cairoの後にruby draw.rbとするとpi.pngというファイル名で下のような画像が出力されるはずです.

設定
画像のサイズ,フォント,フォントの密度は
Surface_Width    = 256
Surface_Height   = 256

Font_Size        = 9
Font_Name        = "Meiryo"
Font_Width       = 5    # 文字の左右の間隔
Font_Height      = 8    # 文字の上下の間隔
フォントの色は
 pattern2.add_color_stop(0.0, :AQUA)
 pattern2.add_color_stop(1.0, :COBALT)
背景の色は
 pattern.add_color_stop(0.0, :GRAY)
 pattern.add_color_stop(1.0, :BLACK)
を弄ればそれぞれ変更できます.詳しくは先ほどのリンクかドキュメントを参考にしてください.
個人的には黒地にグレーの文字が一番かっこいいですね.